GIVE YOUR HOUSEPLANTS SOME LOVE BY REPOTTING THEM THIS SPRING
Share
With more time at home and the official spring-cleaning season just around the corner, the experts at Dobbies have put together a helpful repotting guide for your beloved indoor greenery
Keep houseplants happy with this simple step-by-step guide from Dobbies Houseplant Buyer, Claire Bishop…
Whether you have an air purifying Sansevieria on your bedside table, or your very own indoor jungle with plants trailing over shelves and bold leafy greens taking pride of place in every room, even the lowest maintenance plants require a repot – either annually or at least every two years – to keep them looking their best for years to come.
A simple way to check whether your houseplant needs to be repotted –
- The plant simply looks like it is too big for its pot – as a general rule of thumb, it is best to gradually increase pot sizes, so doing this as an annual job will encourage steady growth.
- The roots are growing out of the drainage holes
- Water is sitting on the top and not absorbing
- The soil is dried out or looks like it is disintegrating
- It has been years since you repotted it
Step-by-step guide for repotting success
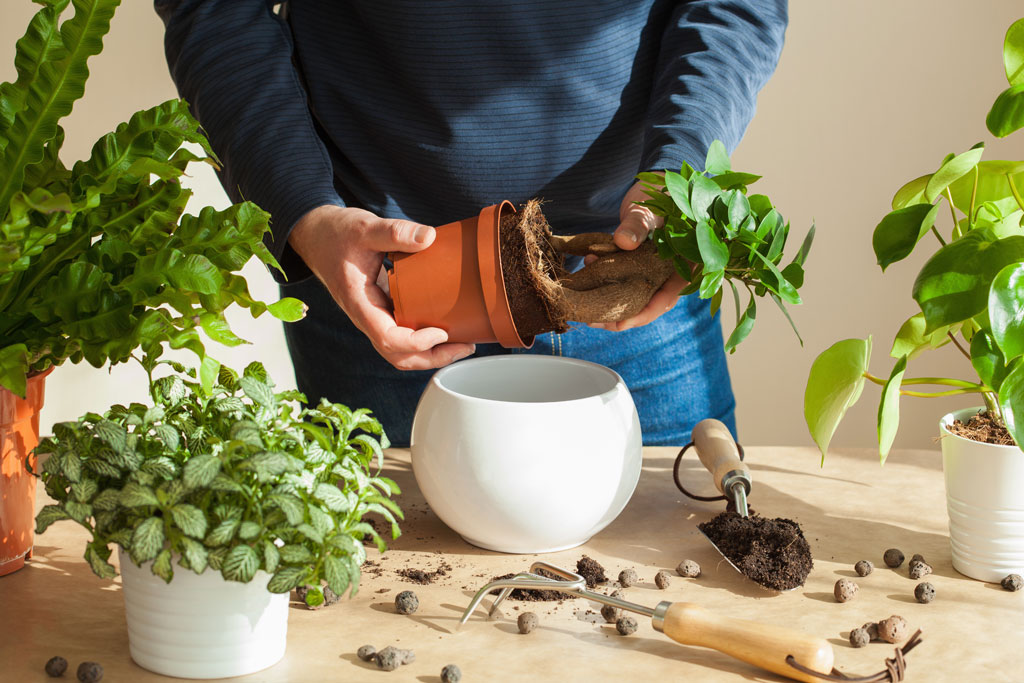
1. Remove the plant from the current pot
Turn your plant sideways, hold it gently by the stems or leaves, and tap the bottom of its current pot until the plant slides out. You might need to give it a bit of help with a couple gentle tugs on the base of the stems.
2. Loosen the roots
Loosen the plant’s roots gently with your hands. You can prune off any threadlike roots that are extra-long, just make sure to leave the thicker roots at the base of the foliage. If your plant is root bound – the roots are growing in very tight circles around the base of the plant – unbind the roots as best you can and give them a trim. For plants that are root bound, make sure the new container is roughly 2 to 4 inches bigger in diameter, so it has space for new root growth.
3. Remove old potting mix
Remove about one third or more of the potting mix surrounding the plant. As it grew, your plant removed some of the nutrients in the current mix, so you will want to give it fresh mix if you are potting it anyway.
4. Add new potting mix
Pour a layer of fresh potting soil into the new planter and pack it down, removing any air pockets. If your new planter doesn’t have a drainage hole, layer the bottom grit or similar drainage material before adding the potting mix. The goal is to create crevices for the extra water to pool into, away from your plant’s roots.
5. Add plant
Set your plant that you removed from the pot on top of the fresh layer of mix in the new planter, making sure it’s sitting in the centre, then add potting mix around the plant until it is secure. Be sure not to pack too much soil into the planter, as you want the roots to be able to breathe.
6. Water and enjoy
Even out the potting soil on top, water well, and enjoy watching your houseplant grow and thrive in its roomier container!
Claire’s expert tips…
There aren’t any plants that are difficult to repot other than Cacti but that mainly due to the spines so wear very thick gloves when repotting them. A few that are super easy to repot –
- Peace Lily (Spathiphyllum)
- Cheese Plant (Monstera)
- Prayer Plant (Calathea)
- Snake Plant (Sansevieria)
Plants can suffer from transplant shock after repotting which can kill the plant, here are ways to treat in the event that it happens –
- Make sure the new pot has sufficient drainage holes
- Place the plant in the exact same spot it used to inhabit so that it gets the same temperature and lighting conditions it had before
- Give the plant a dose of water-soluble, all-purpose plant food
- Finally, nip off all dead leaves and stem ends to make room for new parts to grow
An eco-alternative…
Coir pots are a brilliant sustainable alternative to traditional pots and Dobbies launched their first coir pot houseplants range in 2020. Made from natural rubber and coconut shells that are fully degradable, coir pots have a life span of two years – meaning by the time it degrades, your houseplant will already need repotting.
For houseplant care top tips, listen to Claire Bishop’s Houseplant Haven episode on the Dobbies podcast:


Social Media